The Vikings made a lot of stamped jewelry; finds of Viking hoards are littered with the stuff, for example, check out this picture of the Spillings hoard¹ in Sweden, dated to the ninth century: 
There was almost a hundred and fifty POUNDS of silver found there, and at least half of it was either stamped or twisted. Another example is the Silverdale hoard², found near Lancashire in north-west England:

A third example from a hoard found in Gotland³:
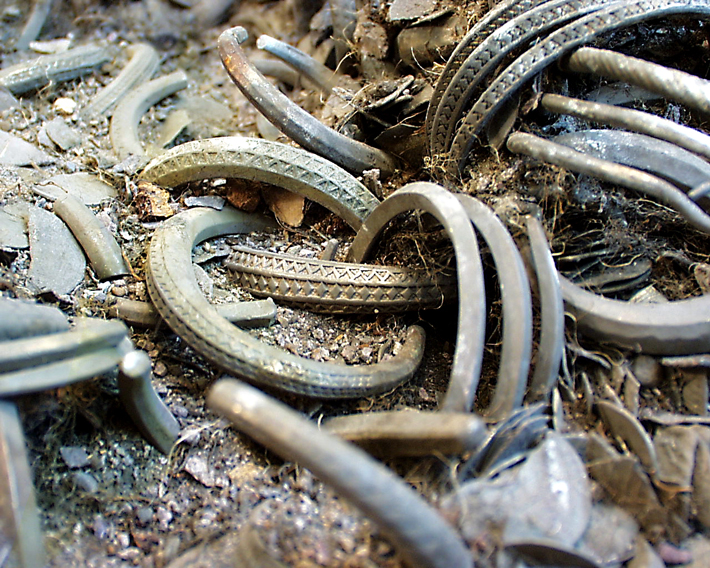
If you look really closely at stuff like this, you can start to discern the shapes of the stamps they used:


Once you see the shapes of them, you can begin to make them: triangles with one or three dots in the middle, round dots or ring dots, dotted lines, straight bars, and others. I do this with round steel stock and a lot of different tools: a pedestal-mounted grinder, a couple belt sanders, a 1/2 HP buffer, files, drill bits in a pin vise, sandpaper, a flex-shaft jeweler’s rotary tool, a Dremel tool, and a few other hand tools, as well as a MAPP gas torch for heat treating. The basic procedure is this:
- Figure out the shape of what you’re making. Triangle, bar, circle, whatever.
- Square up the end of a piece of steel rod 4-6 inches long, and about 3/8″ diameter. This is thick enough that you can bang on it hard, but not too thick that you can’t make small things.
- Using your files, drills, whatever, make the end of your rod be that shape. I use my grinder to get the outside shape because it’s fast, and files and drill bits to get the finer details, for the most part. If you screw up, just grind the end flat again and start over. If it helps, use a fine-point Sharpie to draw your design right on the end of the rod.
- Clean it up. Get rid of all your file and tool marks using 400 grit sandpaper, a buffer, whatever you have handy. I buff the crap out of mine until they have a mirror shine. Any tool or file marks left on the face of your stamp will transfer to the metal. While you’re doing this, square up the other end, too, and maybe put a little chamfer on the edges.
- Harden it. You need to harden both ends, but not the middle, so I grab the middle with a pair of vise-grips, and clamp them in my bench vise. I use a MAPP gas torch to heat one end until it’s cherry red and non-magnetic, then quench it in water. Repeat for the other end. Don’t burn yourself.
- Use a green scubby pad to knock off the worst of the fire scale, if any appeared.
That’s it, you have a workable tool. This whole process, if you have all the tools and materials ready, should take like fifteen minutes.
Here are some pictures of mine:


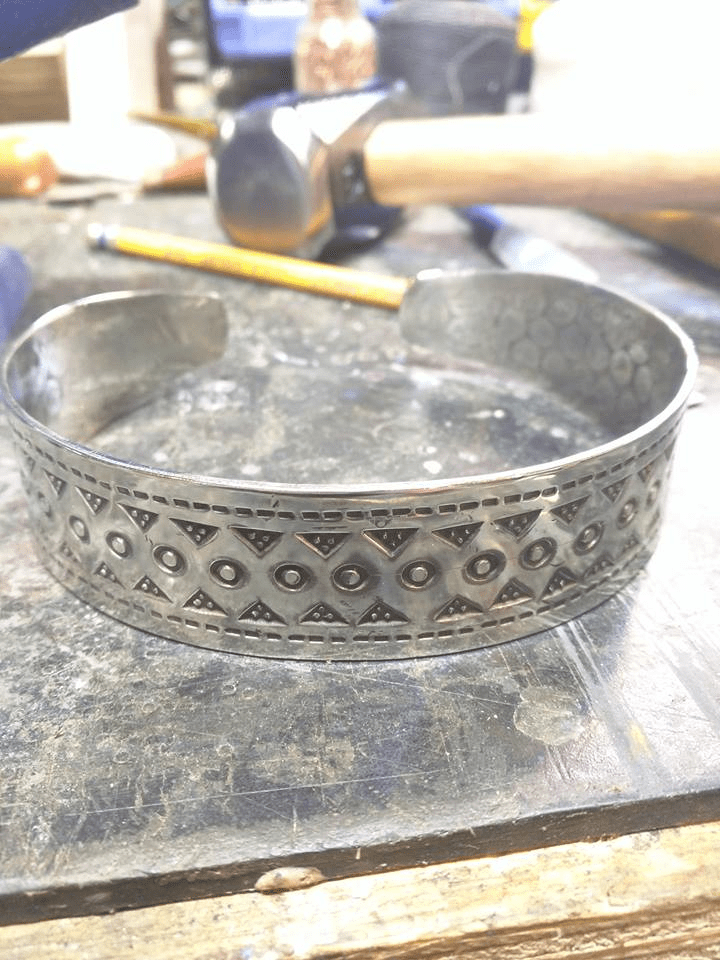
I’ve been using them to make pieces like these, a set of twelve bracelets for a kingdom largesse derby:

and this German silver arm ring, a gift for author Christian Cameron in gratitude for his excellent novels, the Tyrant series: http://www.hippeis.com/tyrantseries

I’ll be teaching a class on how to make these at Æthelmearc’s Spring Æcademy, complete with power tools and fire and sparks and cursing and squire-level safety procedures: https://www.facebook.com/events/279911099350393/
More pictures exist in this Imgur album: https://imgur.com/gallery/D9FJgz3
1: https://en.wikipedia.org/wiki/Spillings_Hoard
2: https://lancashirepast.com/2014/05/13/silverdale-viking-hoard/
3. https://www.archaeology.org/issues/240-1701/features/5123-sweden-gotland-viking-wealth#art_page3

Very lovely work, my friend.
LikeLiked by 1 person